Introduction to Zoominternet.net Webmail and Email Configuration
Hey there, tech explorers! Ever wanted to check your Zoominternet.net email on your phone while you’re out and about, or maybe on your computer without having to open a web browser every time? Well, you can! It’s like having your special Zoominternet webmail follow you wherever you go.
This guide is your friendly map to setting it all up. We’ll start by showing you the regular way to get into your zoominternet email login on the website. Then, we’ll unlock the secret codes – IMAP and SMTP – that let your email work with other cool apps on your phone and computer. Don’t worry if those sound like robot words; we’ll explain them in a way that’s super easy to understand. By the end of this, you’ll be a pro at accessing your zoominternet email from anywhere!
Accessing Zoominternet.net Webmail via Web Browser
First things first, let’s make sure you know the regular way to check your email – through the internet on your computer.
Zoominternet.net Email Login: Accessing Your Webmail
Step 1: Finding the Zoominternet Webmail Login Page
Think of your zoominternet webmail as your online clubhouse. To get inside, you need to find the right door – the login page! Usually, Zoominternet will have a special website address just for this.
If you don’t see that exact link, no worries! Just go to the main Zoominternet website, which is probably www.zoominternet.net. Then, look for a button or words that say “Webmail” or “Email Login.” Sometimes, there might even be a little picture of an envelope. Click that, and ta-da! You’ve found the login page for your zoominternet email.
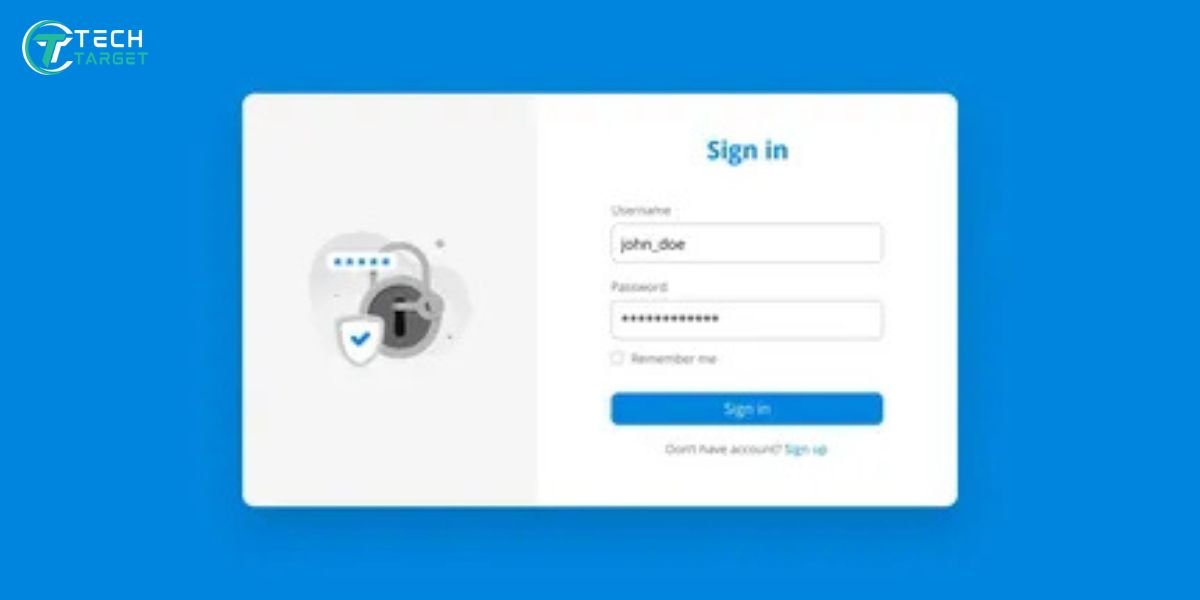
Step 2: Entering Your Login Credentials
Now you’re at the door! You’ll see two empty spaces. The first one wants your username or your zoominternet.net email address – that’s like your name tag for your online mailbox. The second space is for your password – your secret key to open the door.
Type them in super carefully! Computers are very picky about big letters (like Z) and small letters (like z). So, make sure you get it just right. It’s like spelling a tricky word! Keep your password a secret so only you can read your mail.
Understanding IMAP and SMTP for Zoominternet.net Email
Okay, now for those robot words: IMAP and SMTP. They’re not as scary as they sound!
Configuring Zoominternet.net Email with IMAP and SMTP
What are IMAP and SMTP?
Imagine sending letters with the post office.
- IMAP (Internet Message Access Protocol) is like having a copy of all your letters at the post office and also on your phone and computer. When you read a letter on your phone, the post office knows you read it, and it shows as read on your computer too. It keeps everything the same everywhere!
- SMTP (Simple Mail Transfer Protocol) is like the mailman who takes the letters you write on your computer or phone and carries them to the post office to send to your friends. It’s all about sending your emails out.
Some people used to use something called POP3, but IMAP is usually better because it’s like having your email everywhere and keeping it all the same.
Why Configure Email Clients?
Why would you want to use an app like Outlook on your computer or the Mail app on your phone instead of just going to the zoominternet webmail website? Well, it’s like having different tools for different jobs! Some apps have special features that you might like, like being able to check your email even when you don’t have internet (sometimes!). It can also be easier to keep all your different email accounts in one place.
Zoominternet.net Webmail IMAP Configuration Guide
Alright, let’s get your email set up to receive messages on your phone or computer using IMAP!
Setting Up Zoominternet.net Email with IMAP
Required IMAP Server Settings:
Think of these as the special instructions your email app needs to find your Zoominternet mailbox. It’s like giving your friend the right address to send you a letter.
- Server Address: This is the address of the Zoominternet “post office” for getting mail. It’s usually: imap.zoominternet.net.
- Port Number: This is like the special door number at the post office for IMAP. The recommended one is usually 993.
- Encryption Method: This is like a secret code to keep your email safe while it’s traveling. You’ll usually want to choose SSL/TLS.
- Authentication: This just means you need to use your username (your zoominternet.net email address) and your password to prove it’s you asking for your mail.
Step-by-Step Instructions for Popular Email Clients:
These are general steps, and the exact buttons might look a little different in your app.
Example 1: Setting up Zoominternet.net Email in Outlook:
- Open Outlook on your computer, click on the “File” tab at the top left, and choose “Add Account” from the menu.
- Choose “Manual setup or additional server types” and then click “Next” to continue.
- Select “POP or IMAP” and click “Next.”
- Under “Incoming mail server (IMAP),” type imap.zoominternet.net.
- We’ll set up the “Outgoing mail server (SMTP)” in the next part.
- For “Account Type,” choose “IMAP.”
- Type your whole zoominternet.net email address as your “User Name.”
- Type your secret password.
- Click on “More Settings…” and proceed to the “Advanced” section.
- Type 993 into the “Incoming server (IMAP)” field and choose “SSL/TLS” as the encryption method from the dropdown list.
- Press “OK,” proceed by selecting “Next,” and complete the setup by clicking “Finish.”
Example 2: Setting up Zoominternet.net Email in Thunderbird:
- Open Thunderbird on your computer and click the menu button (it looks like three lines in the top right), then click “Account Settings.”
- Click “Account Actions,” then “Add Mail Account…”
- Input your full name, your zoominternet.net email address, and the corresponding password. Click “Continue.”
- Thunderbird might try to guess the settings, but you should click “Manual config.”
- For “Incoming,” choose “IMAP.” The “Server hostname” should be imap.zoominternet.net, the “Port” should be 993, and for “Connection security,” choose “SSL/TLS.”
- For “Authentication,” choose “Normal password.”
- Click “Re-test” and then “Done.”
Example 3: Setting up Zoominternet.net Email on Mobile (iOS/Android):
- Go to the “Settings” app on your phone and look for “Mail,” “Accounts,” or something similar.
- Choose “Add Account” and then “Other.”
- Fill in your name, zoominternet.net email, and the related email account password. Click “Next.”
- Choose “IMAP.”
- For “Incoming Mail Server,” type imap.zoominternet.net for the “Hostname” or “Server,” your full zoominternet.net email address for the “Username,” and your secret password. The “Port” should be 993, and the “Security Type” should be `SSL/TLS” or “Use SSL.”
- We’ll set up the outgoing server in the next part. Click “Next” or “Save.”
Visual Cues: Look for words like “Incoming Mail Server,” “IMAP,” “Port,” and a dropdown menu for “Security” in your email app’s settings.
Zoominternet.net Webmail SMTP Configuration Guide
Now, let’s set up your email so you can send messages from your phone or computer! This uses SMTP.
Setting Up Zoominternet.net Email for Sending (SMTP)
Required SMTP Server Settings:
Think of these as the instructions for the Zoominternet “mailman” who will take your letters to send to your friends.
- Server Address: This is the address of the Zoominternet “mailman’s office.” It’s usually: smtp.zoominternet.net.
- Port Number: This is the special door number for the SMTP mailman. The recommended one is usually 587. Another one that sometimes works is 465.
- Encryption Method: This is the secret code for your outgoing mail. You’ll usually want to choose STARTTLS (if you’re using port 587) or SSL/TLS (if you’re using port 465).
- Authentication: Just like getting mail, you need to use your username (zoominternet.net email address) and password to send mail, too, so the mailman knows it’s you.
Step-by-Step Instructions for Popular Email Clients:
Configuring your Outgoing Mail Server (SMTP) settings is essential for sending emails. Here are the step-by-step instructions for popular email clients, focusing on the settings for smtp.zoominternet.net.
1. Microsoft Outlook
These instructions assume you are setting up an IMAP account and are in the ‘IMAP Account Settings’ window.
- Open “More Settings…” and navigate to the “Outgoing Server” tab.
- Enable the option: “My outgoing server (SMTP) requires authentication”.
- Select the setting: “Use same settings as my incoming mail server.”
- Go to the “Advanced” tab.
- For the Outgoing server (SMTP) port, enter 587.
- For the encryption type, select “STARTTLS” (or similar option like TLS/SSL if STARTTLS isn’t an explicit choice).
- Click “OK” to save these settings.
- Click “Next,” and then complete the process by selecting “Finish.”
2. Mozilla Thunderbird
You will configure the SMTP server under the “Account Settings” section.
- In the left-hand list of “Account Settings,” click on “Outgoing Server (SMTP)” at the bottom.
- If
smtp.zoominternet.netis not listed, click the “Add…” button.- Description: Type a descriptive name, like “Zoominternet SMTP”.
- Server Name: Type
smtp.zoominternet.net. - Port: The port should be 587.
- Connection security: Select “STARTTLS”.
- Authentication method: Choose “Normal password”.
- User Name: Type your full
zoominternet.netemail address.
- Click “OK” to save the new SMTP server details.
- Return to your specific
zoominternet.netaccount settings and ensure this new SMTP server is chosen for your account’s outgoing mail.
3. Mobile Email Clients (iOS/Android)
These steps are typically encountered right after entering your Incoming Mail Server (IMAP) settings during account setup.
- After configuring your IMAP settings and clicking “Next,” look for the section titled “Outgoing Mail Server” or similar.
- Hostname or SMTP Server: Type
smtp.zoominternet.net. - Username: Enter your full
zoominternet.netemail address. - Password: Use the same password as your incoming mail (IMAP) server.
- Port: The port is usually 587.
- Security Type or Encryption: Select “STARTTLS” or “Use TLS” (Transport Layer Security).
- Click “Next” or “Save” to complete the setup.
Troubleshooting Common Zoominternet.net Email Configuration Issues
Sometimes, things don’t work right away. Below are frequent issues along with their solutions.
Resolving Common Issues with Zoominternet.net Email Setup
- Oops, Wrong Addresses or Numbers! Double-check that you spelled imap.zoominternet.net and smtp.zoominternet.net exactly right, and that you used the right port numbers (like 993 and 587). Even a tiny mistake can cause problems!
- Are You Using the Right Key? Make sure you’re using the same username (zoominternet.net email address) and password that you use to log in to the zoominternet webmail on the website.
- Is Something Blocking the Way? Sometimes, your computer’s or phone’s security programs (like firewalls or antivirus) might stop your email app from connecting. Try turning them off for a little bit (ask a grown-up to help if you’re not sure how) to see if that fixes it. If it does, you might need to tell your security program to let your email app work.
- Trying Different Locks (SSL/TLS or STARTTLS): The security settings are important! If one type (like SSL/TLS) doesn’t work, try the other one (like STARTTLS). But always use one of them to keep your email safe!
- Did You Say It’s You? (Authentication Errors): Make sure your email app has a box checked that says “Authentication Required” or “Log in to outgoing mail server.” This tells the Zoominternet computers that it’s really you sending and getting mail.
- Still Stuck? Ask the Zoominternet Helpers! If you’ve tried all these things and it’s still not working, don’t worry! The friendly people at Zoominternet support can help.
Tips for Secure and Efficient Use of Zoominternet.net Email Clients
Here are some extra tips to keep your zoominternet email safe and make it easier to use:
Enhancing Your Zoominternet.net Email Client Experience
- Super Secret Passwords: Keep your passwords strong and don’t share them with anyone!
- Keep Your Apps Updated: Make sure your email apps on your computer and phone get updates. Many of these updates include critical security patches and added functionality.
- Watch Out for Sneaky Emails: Be careful of emails that look like they’re from real companies but are trying to trick you into giving them your personal information. These are called phishing scams, and it’s crucial to learn them.
- Keep Your Mailbox Clean: If you use IMAP, your emails are saved on the Zoominternet computers. If you have too many emails, it can sometimes make things slow. Clear your inbox by getting rid of emails you no longer need.
- Let Your App Help You Organize: Most email apps have tools to help you sort your emails into folders or use filters to automatically organize them. Explore the settings in your app!
Getting Further Support for Zoominternet.net Email
If you’re still having trouble setting up your zoominternet email on your phone or computer, don’t worry! The Zoominternet support team is there to help.
Need More Help? Contacting Zoominternet.net Support
- Zoominternet Website: Go to zoominternet.net and look for a “Support” or “Help” section. They might have guides or FAQs for setting up email.
- Call Them: They will probably have a phone number you can call for help. Look for it on their website.
You can usually find their support information here: armstrongonewire.com/Support/.
The people at Zoominternet know their email system best and can give you the most accurate help.
Conclusion
Fantastic! You’ve now learned how to set up your Zoominternet.net email so you can get your messages on all your favorite devices using IMAP and SMTP! This lets you stay online and in touch no matter your location.
Keep this guide handy in case you ever need to set up a new device or if you run into any bumps in the road. Happy emailing!
Learn how to configure and troubleshoot other leading webmail platforms by visiting our related blog articles: